") Turkey (Türkçe)
Turkey (Türkçe)") Germany (German)
Germany (German)") Worldwide (English)
Worldwide (English)


Installing Apache Passenger (mod-alt-passenger) for Node.js Selector via WHM
İçindekiler
Installing Apache Passenger (mod-alt-passenger) for Node.js Selector via WHM
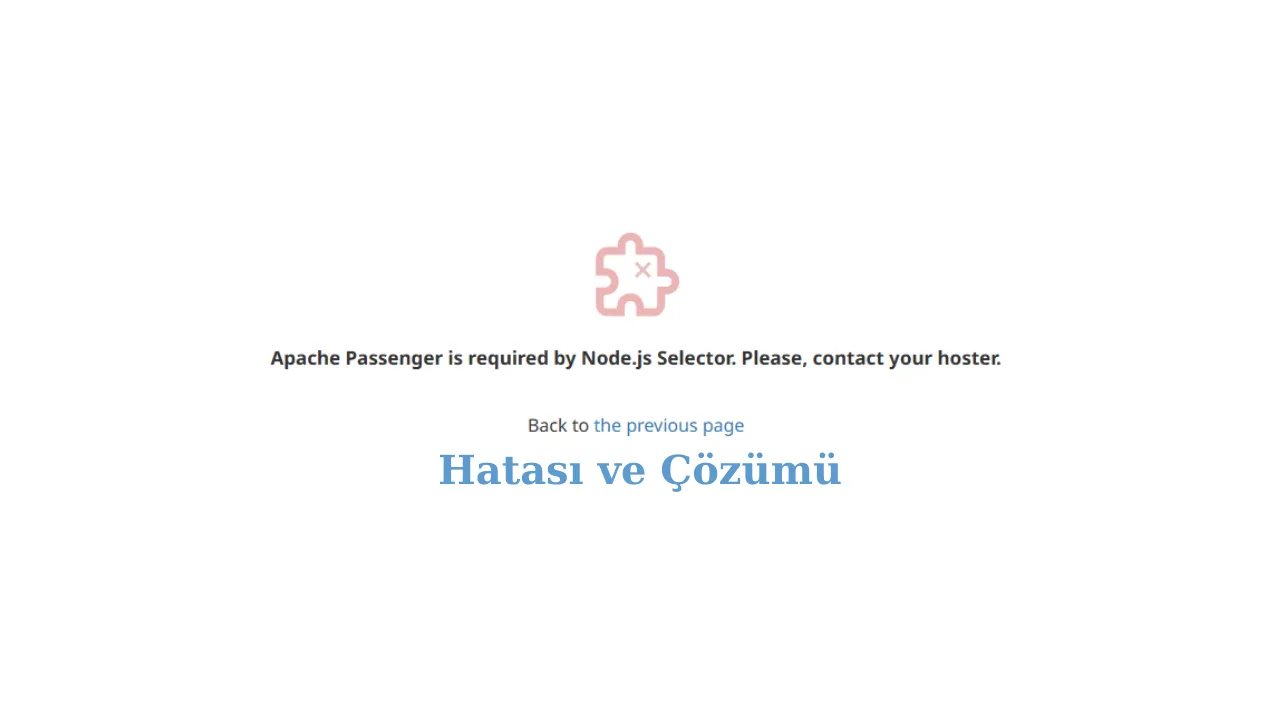
This blog post will guide you through the process of installing and configuring Apache Passenger (specifically, mod-alt-passenger) to work seamlessly with the Node.js Selector in your WHM (Web Host Manager) environment. This setup allows you to easily deploy and manage Node.js applications through cPanel, leveraging the performance and stability of Apache Passenger.
What is Apache Passenger?
Apache Passenger (also known as Phusion Passenger) is a web application server with support for multiple languages, including Node.js, Ruby, Python, and more. It integrates directly with Apache, providing a robust and efficient way to serve web applications. mod_alt_passenger is a specific version of Passenger designed to work with the CloudLinux Node.js Selector, enabling per-user Node.js application deployments.
Prerequisites
Before you begin, ensure you have the following:
- A server running WHM/cPanel and CloudLinux.
- Root access to your server.
- Node.js Selector enabled in CloudLinux.
Step-by-Step Installation Guide
1. Accessing the Server via SSH
First, you'll need to connect to your server via SSH. Use your preferred SSH client and log in as the root user.
ssh root@your_server_ip2. Installing `mod_alt_passenger`
CloudLinux provides a convenient way to install mod_alt_passenger using the yum package manager. Execute the following command:
yum install mod_alt_passengerThis command will download and install the necessary packages. Confirm the installation when prompted.
3. Enabling `mod_alt_passenger`
After installation, you need to enable the module. This is typically done automatically by the installation process, but it's good to verify. You can check if it's enabled by looking at the Apache modules.
httpd -M | grep passengerIf the output shows `passenger_module (shared)`, then it's enabled. If not, you might need to manually enable it. However, the `yum` installation should handle this.
4. Configuring Apache for Passenger
While the `yum` installation configures Apache for basic Passenger functionality, you might need to adjust the configuration based on your specific needs. The main Passenger configuration file is typically located at /etc/httpd/conf.d/passenger.conf or similar. Examine this file to ensure it contains the necessary directives.
Key directives to look for include:
LoadModule passenger_module modules/mod_passenger.soPassengerRoot /usr/share/gems/gems/passenger-<version>(Replace `<version>` with the actual version)PassengerDefaultRuby /usr/bin/ruby(This might not be necessary for Node.js but is often present)
The exact paths and values may vary depending on your system configuration and Passenger version. You should generally not need to modify this file unless you have specific requirements beyond the default setup.
5. Restarting Apache
After installing and configuring Passenger, you need to restart Apache for the changes to take effect.
service httpd restartOr, if you're using systemd:
systemctl restart httpdCheck the Apache error logs (usually located at /var/log/httpd/error_log) for any errors during the restart process.
6. Configuring Node.js Selector
The CloudLinux Node.js Selector should now automatically detect Passenger. You can verify this by logging into a cPanel account and accessing the Node.js Selector. When creating a new Node.js application, the deployment method should be automatically configured to use Passenger.
If you encounter issues, ensure that the correct Passenger version is being used by the Node.js Selector. CloudLinux often provides specific documentation or tools for managing the integration between the Node.js Selector and Passenger.
7. Testing Your Node.js Application
Deploy a simple Node.js application through the cPanel Node.js Selector to verify that Passenger is working correctly. Access the application through your web browser. If it loads without errors, Passenger is successfully serving your Node.js application.
Troubleshooting
If you encounter any issues during the installation or configuration process, consider the following troubleshooting steps:
- Check Apache Error Logs: The Apache error logs (
/var/log/httpd/error_log) often contain valuable information about errors and warnings. - Verify Passenger Installation: Ensure that Passenger is correctly installed and enabled. Use the
httpd -Mcommand to verify that thepassenger_moduleis loaded. - Check Node.js Selector Configuration: Review the CloudLinux documentation for specific configuration options related to the Node.js Selector and Passenger.
- Restart Apache: After making any changes to the Apache configuration, always restart Apache to apply the changes.
- Consult CloudLinux Documentation: The CloudLinux documentation provides detailed information about installing and configuring the Node.js Selector and related modules.
Conclusion
By following these steps, you can successfully install and configure Apache Passenger (mod_alt_passenger) to work with the Node.js Selector in your WHM environment. This setup provides a robust and efficient way to deploy and manage Node.js applications through cPanel, leveraging the benefits of both Passenger and the Node.js Selector.
Yorumlar