 Turkey (Turkish)
 Germany (German)
 Worldwide (English)


Using cPanel File Manager
Learn how to manage your website's files using cPanel's built-in file manager.
Read More
 Halkali merkez neighborhood fatih st ozgur apt no 46 , Kucukcekmece , Istanbul , 34303 , TR
It's now easy to create and manage FTP accounts in your cPanel control panel. In this guide, to your website You will learn step by step how to create and configure the necessary accounts via cPanel and connect with FileZilla to access via FTP.
FTP (File Transfer Protocol) is the most practical way to manage your website's files. With an FTP account, you can quickly connect to your server, transfer files and easily edit your site content.
Create an account in minutes
Easy and fast file uploading
Encrypted and secure connections
Check accounts and permissions
To create an FTP account via cPanel, you must first log in to your cPanel control panel. cPanel is the management interface of your web hosting service, where you can configure many settings related to your website.
Open your favorite browser and enter the cPanel address you received from your hosting provider. This address usually has the following format: https://siteadiniz.com/cpanel or https://sunucu-ip-adresi:2083
On the cPanel login screen that opens, enter the username and password you specified when purchasing hosting. If you do not remember your information, you can contact your hosting provider.
After logging in, you will see the cPanel home page. This page contains all the tools needed to manage your website, categorized.
For security reasons, it is recommended that you change your cPanel password regularly and use strong passwords. You can change your cPanel password in the "Security" section.
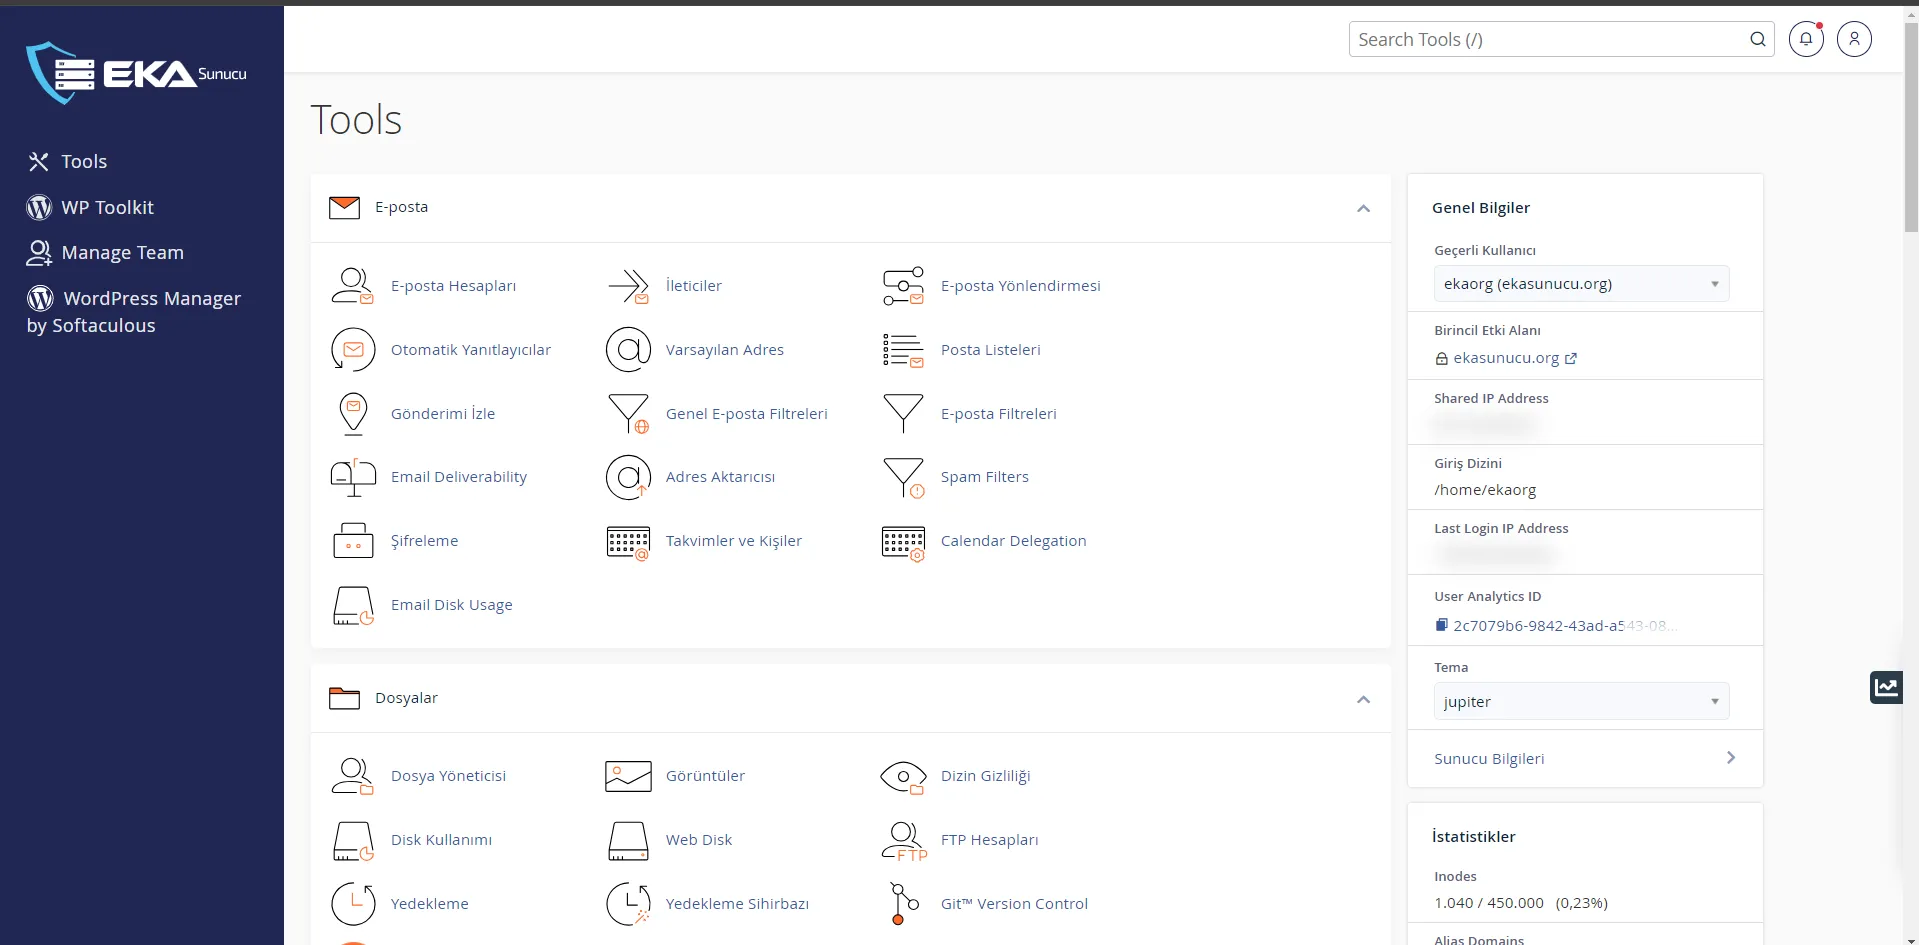
You need to access the relevant module to manage FTP accounts on the main page of cPanel. In this section, you can create new FTP accounts, edit or delete existing accounts.
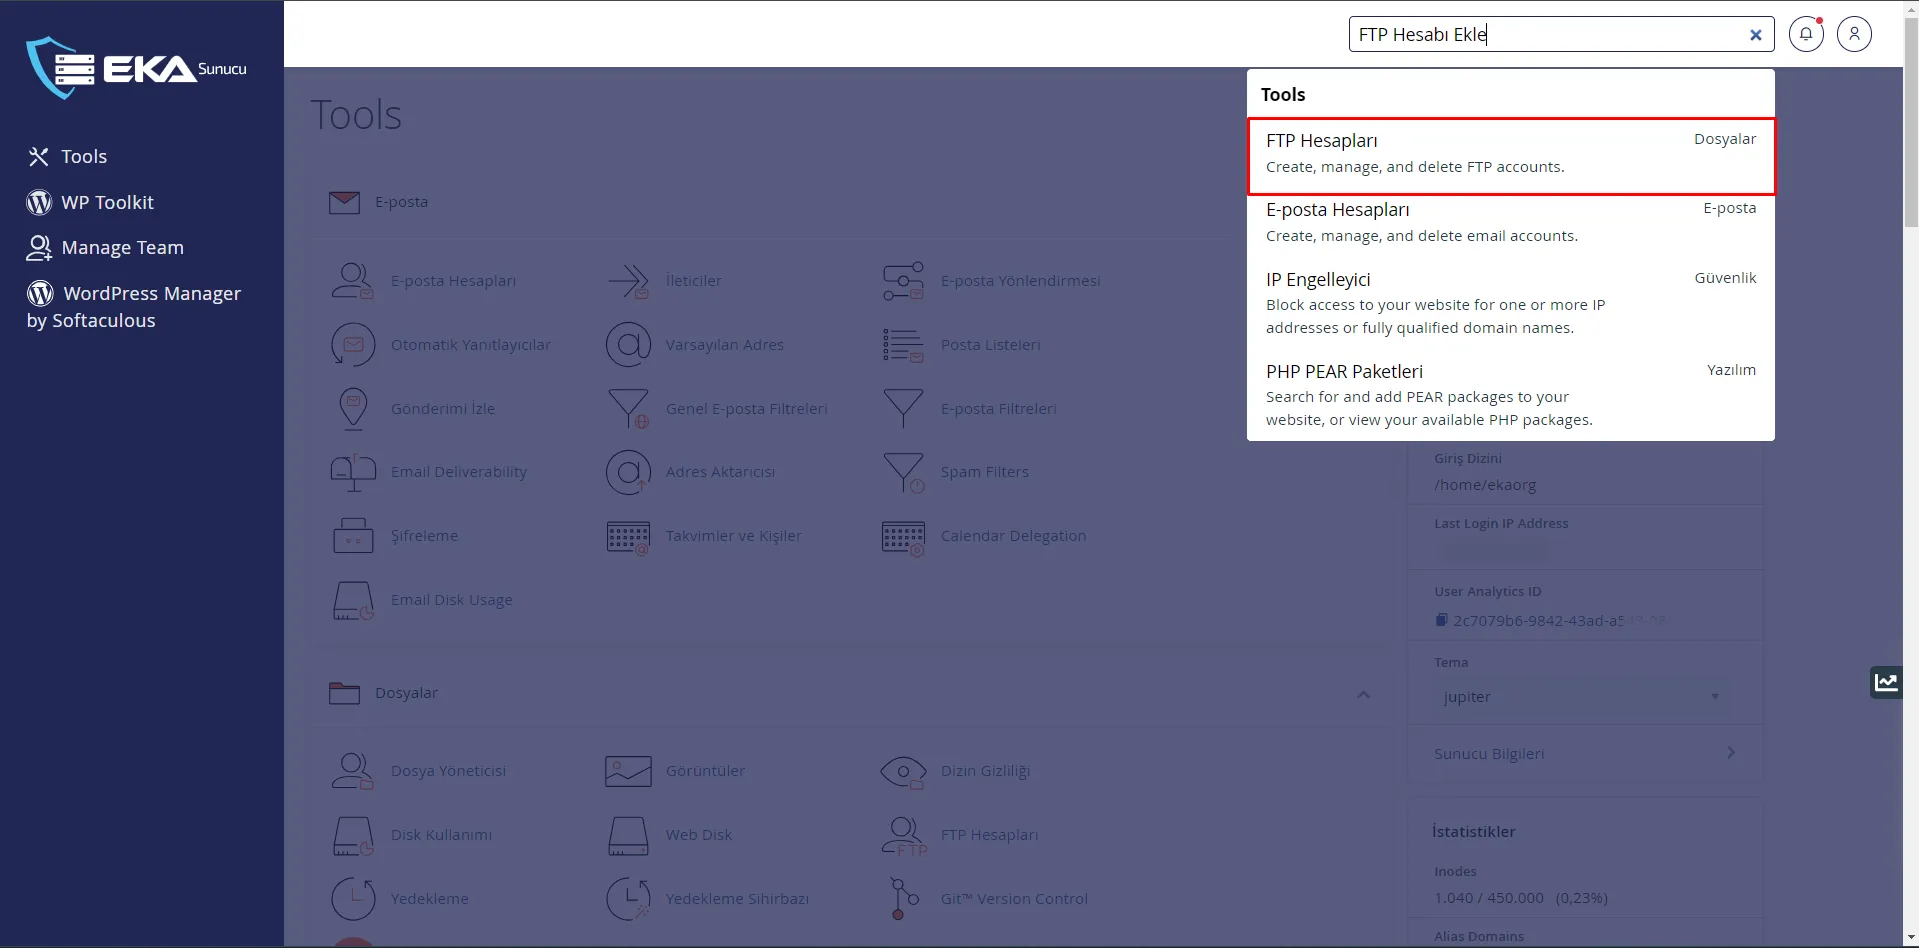
On the cPanel home page, you can find the "FTP Accounts" module under the "Files" category. Alternatively, you can use the search bar at the top.
You can quickly access the relevant module by typing "Add FTP Account" in the search section. This saves time, especially on large cPanel interfaces.
When you click on the FTP Accounts module, you will be directed to the page where you can see all existing FTP accounts and create new accounts.
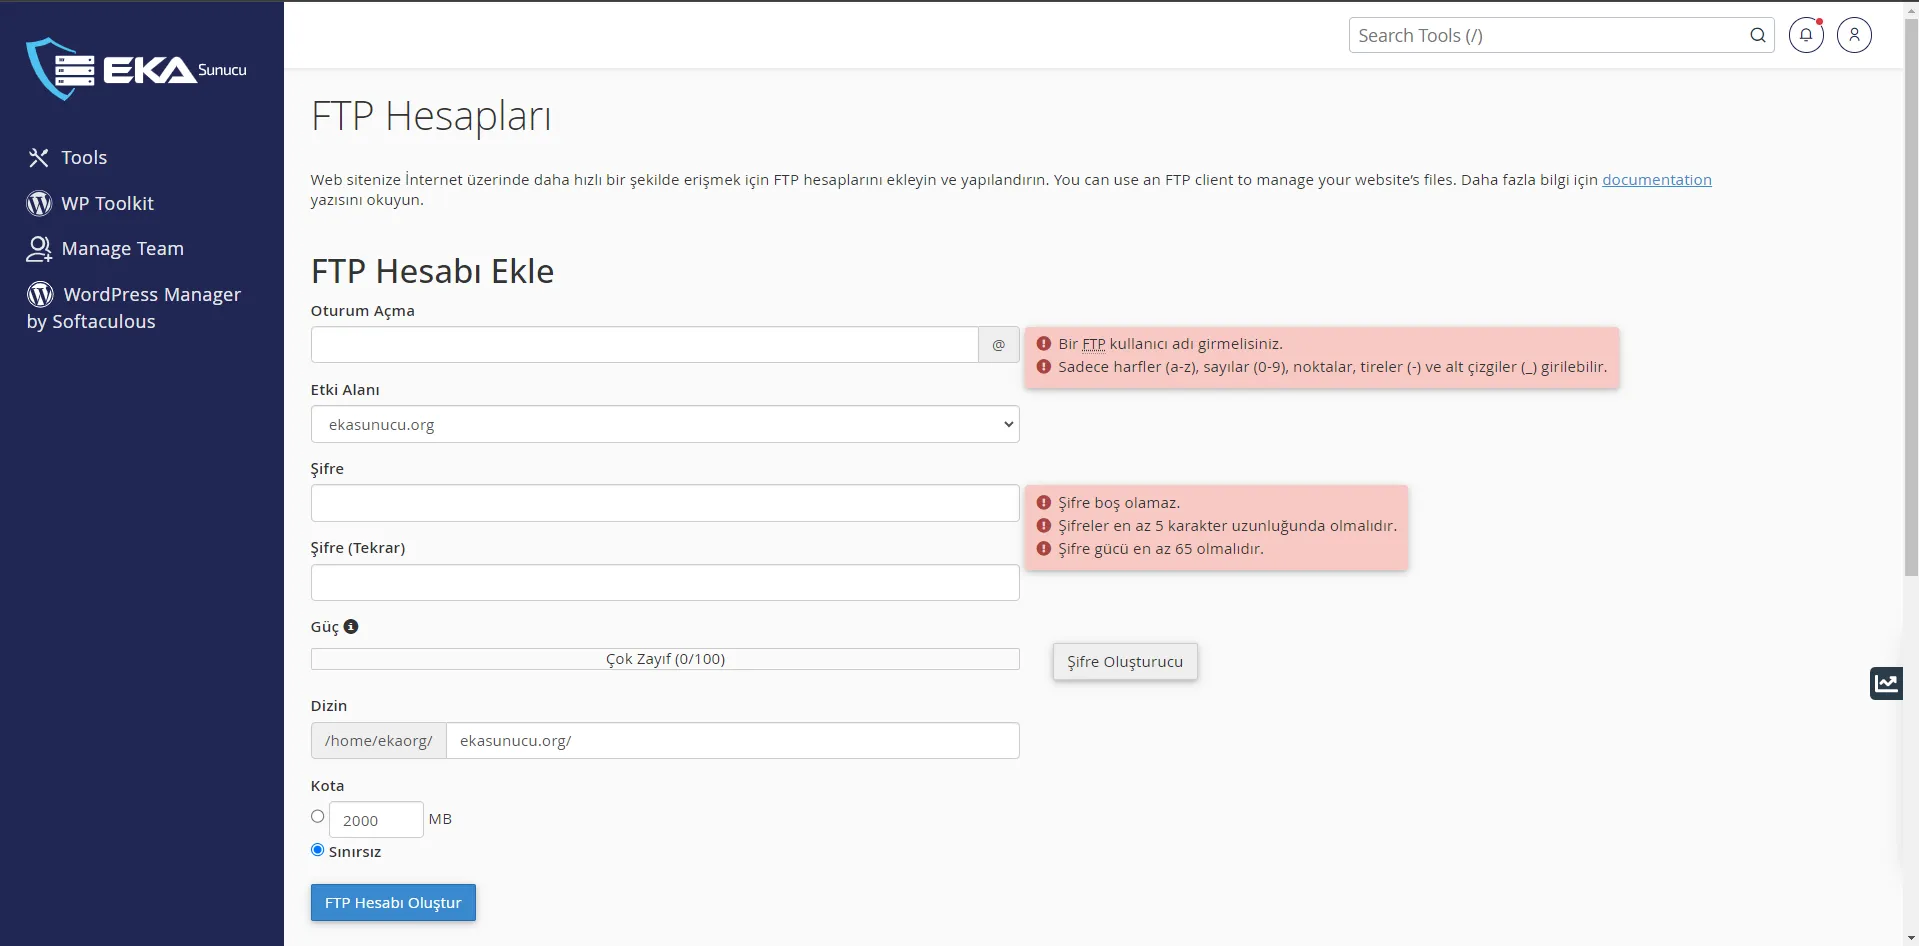
On the FTP accounts page, you need to enter the necessary information to create a new FTP account. This information determines your FTP username, password and account access rights.
In the "Add FTP Account" section, you first need to fill in the username field. This will be the first part of your FTP account username. For example: "webmaster" or "admin".
After the username, you can choose from the drop-down menu which domain the FTP account belongs to. Once this option is completed, your FTP username will be in the format "[email protected]".
Set a strong password. Your password must consist of uppercase and lowercase letters, numbers and special characters. You can also automatically create a strong password by clicking the "Create Password" button.
You can set disk quota for this FTP account. You can check "Unlimited" for unlimited space or set a specific MB/GB limit.
Keep your FTP password strong and avoid using the same password on your different accounts. The password must be at least 12 characters long and contain a variety of characters.
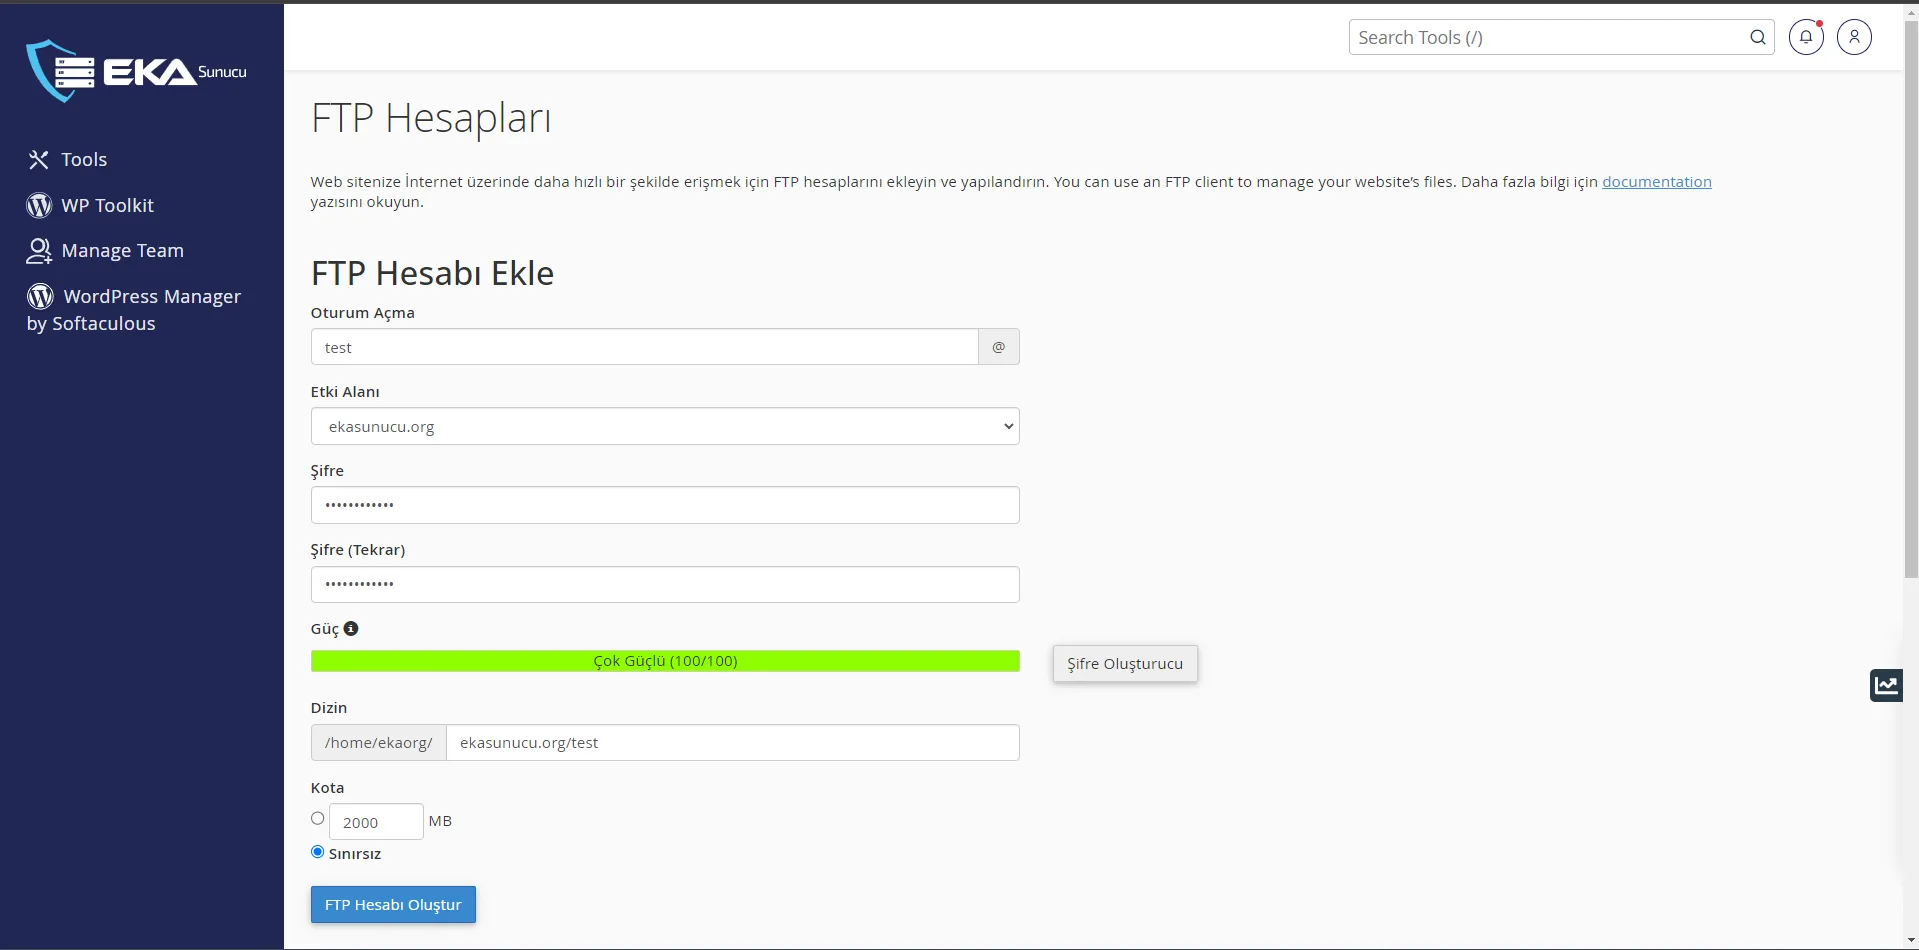
Determining the directory that the FTP account can access is an important step for security. By giving the FTP user access to only a specific directory, you can protect other parts of your server.
In the "Directory" field, specify the directory you want the FTP account to access. By default, the home directory will appear.
If you want to give access to all files of your website, you can select the "public_html" directory. This is the folder where the main content of your site is located.
To grant access to a specific subfolder, you can specify a path like "public_html/sub-folder". So the FTP user can only access this directory and its subfolders.
You can increase security by creating different FTP accounts for different members of your team and giving each of them access only to the directories of the department they work in. For example, "public_html/templates" for the designer and "public_html/content" for the content editor.
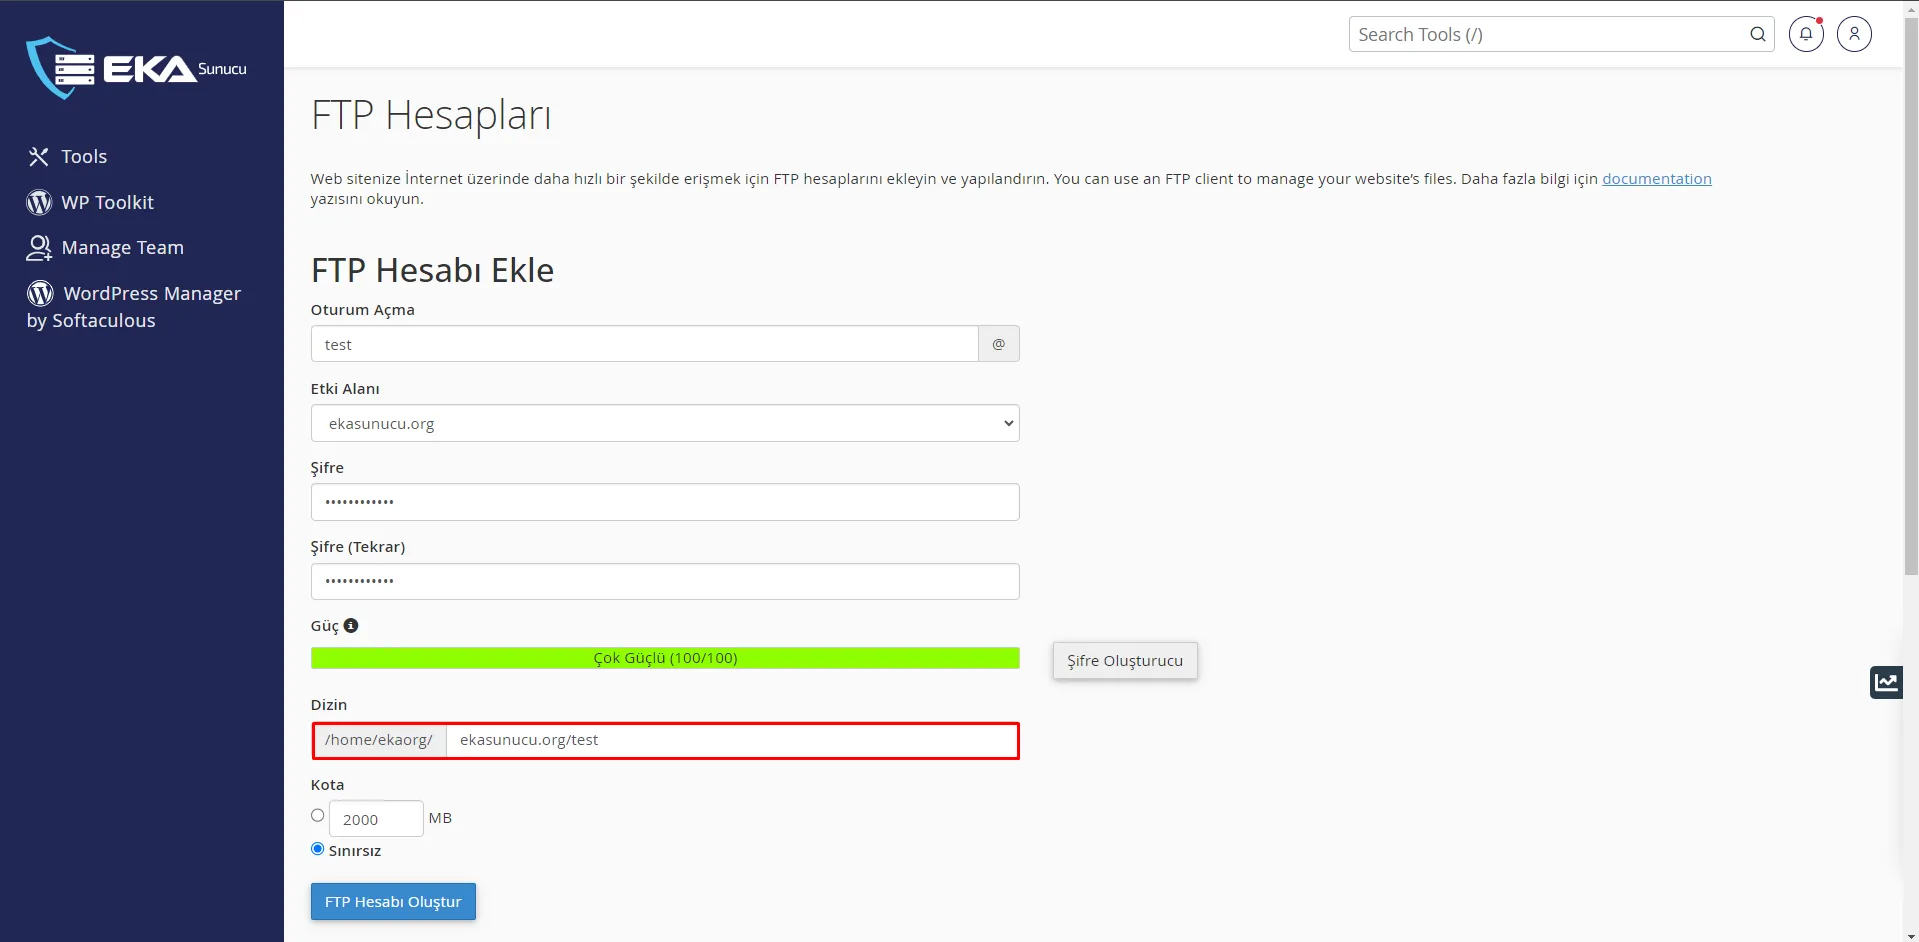
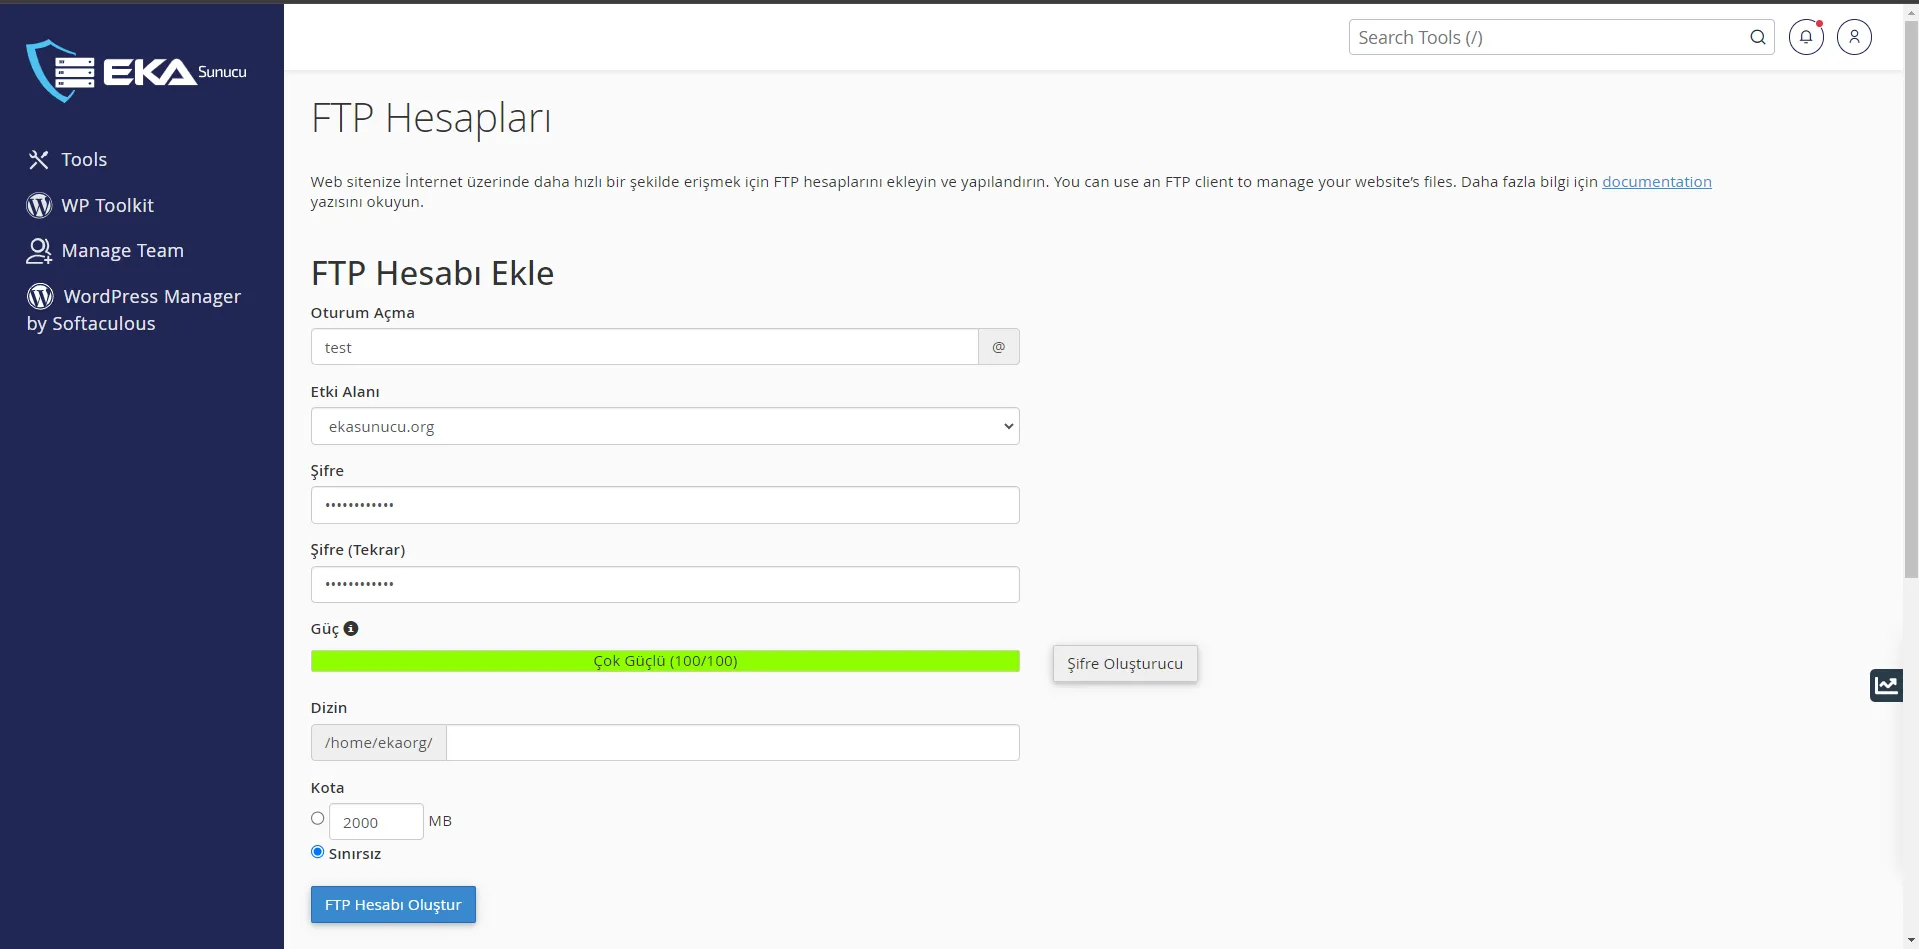
Once you have entered all the necessary information, you can create your FTP account. This step will activate a new FTP account with the information you specified.
Before creating your FTP account, double-check all the information you entered. In particular, make sure that the directory path is correct.
If all the information is correct, create your account by clicking the "Create FTP Account" button at the bottom of the page.
When the process is successful, you will see a green confirmation message at the top of the page. This indicates that your FTP account has been created successfully.
After your FTP account is created, do not forget to write down your account information (such as username, password, port number). You will use this information when connecting to FTP clients such as FileZilla.
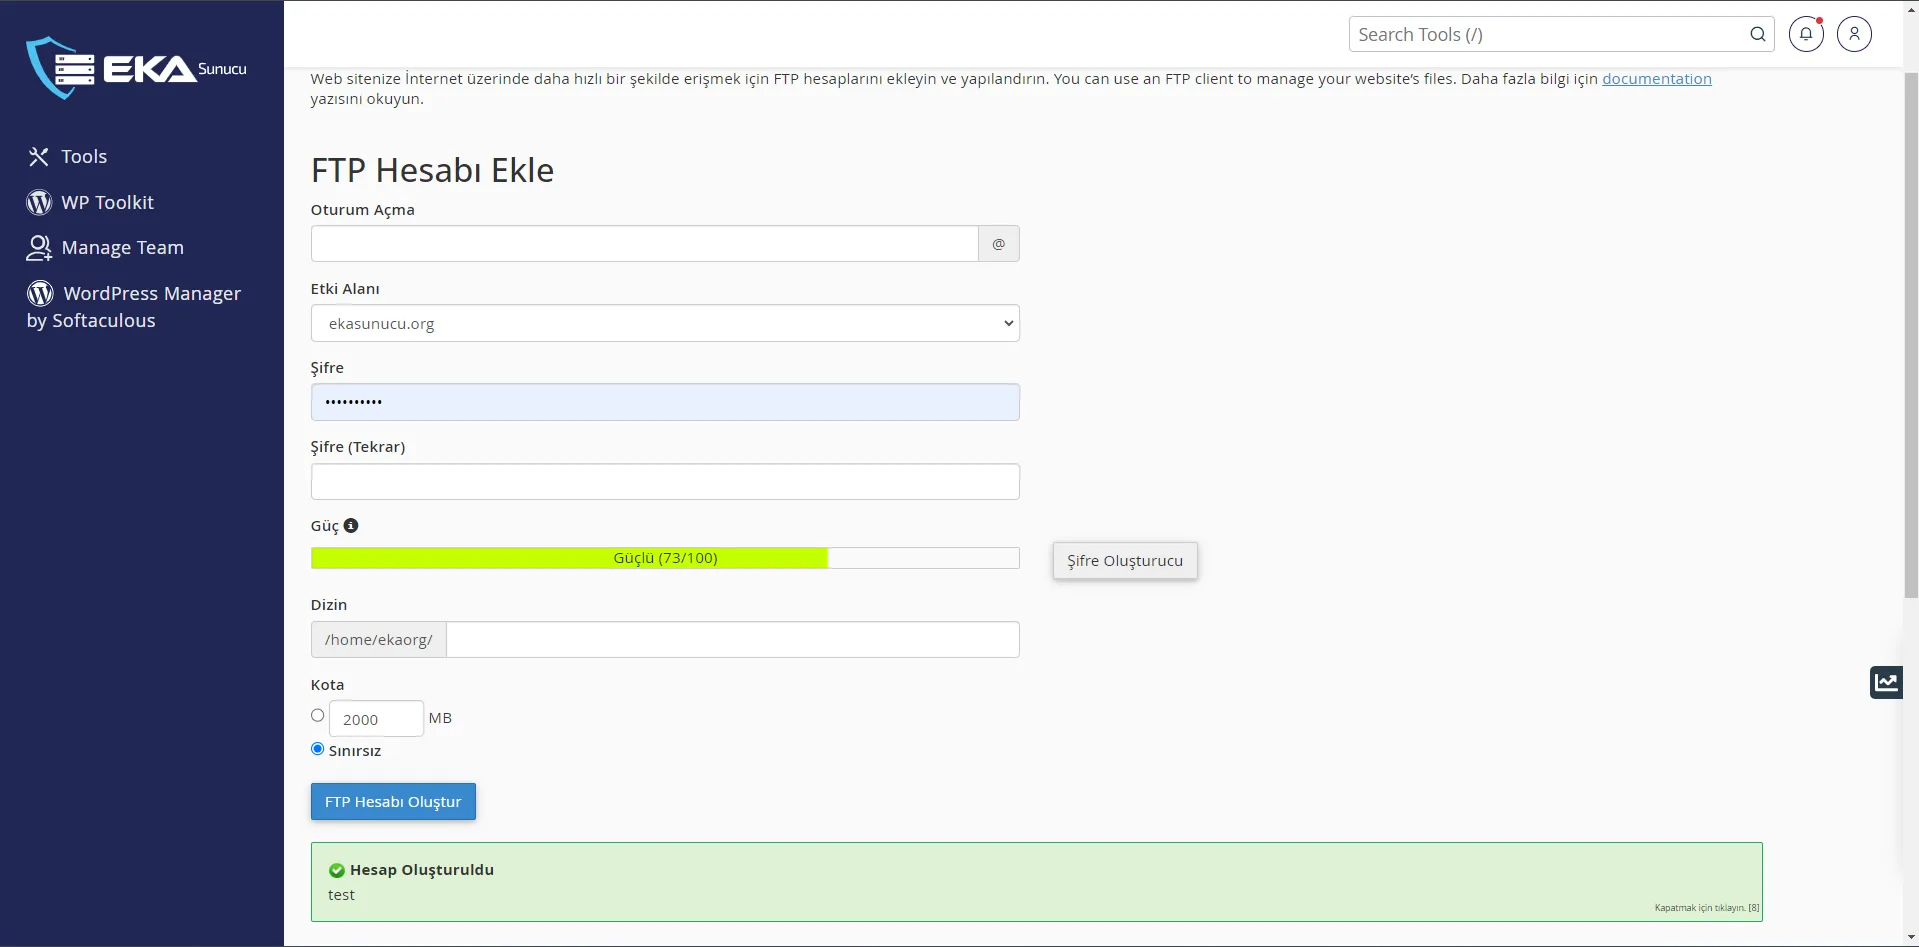
After creating your FTP account, you can use this account information to connect to your server and manage your files with FTP clients such as FileZilla. FileZilla is one of the most popular and user-friendly FTP clients.
If FileZilla is not yet installed on your computer, From FileZilla's official site You can download and install the program.
Open the FileZilla program. In the interface that appears, you will see the "Quick Connection" section at the top.
Presenter: Enter siteadi.com, ftp.siteadi.com or your server IP address.
Username: Enter the FTP username you created (ex: [email protected]).
Password: Enter the FTP password you specified.
Port: For FTP you can use the default port 21.
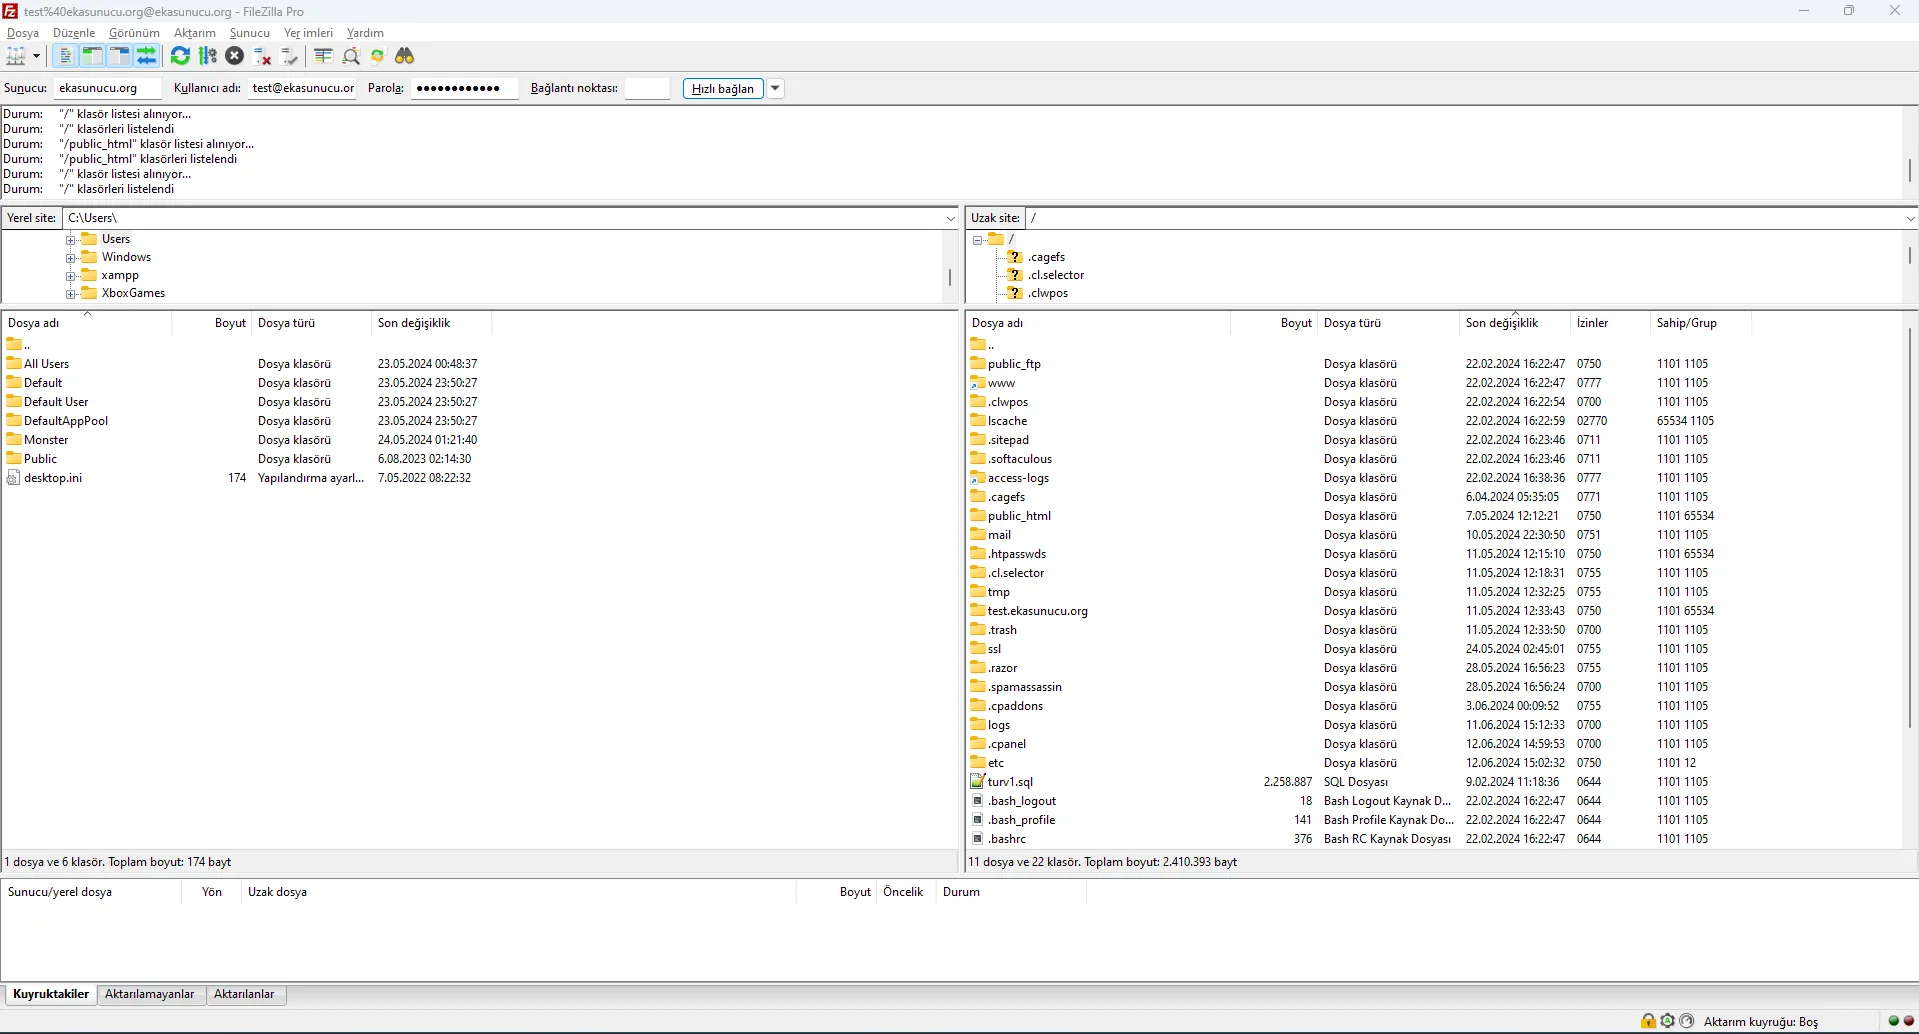
After entering all the information, connect to your server by clicking the "Quick Connect" button. Once a successful connection is established, you will be able to see the files on your server on the right.
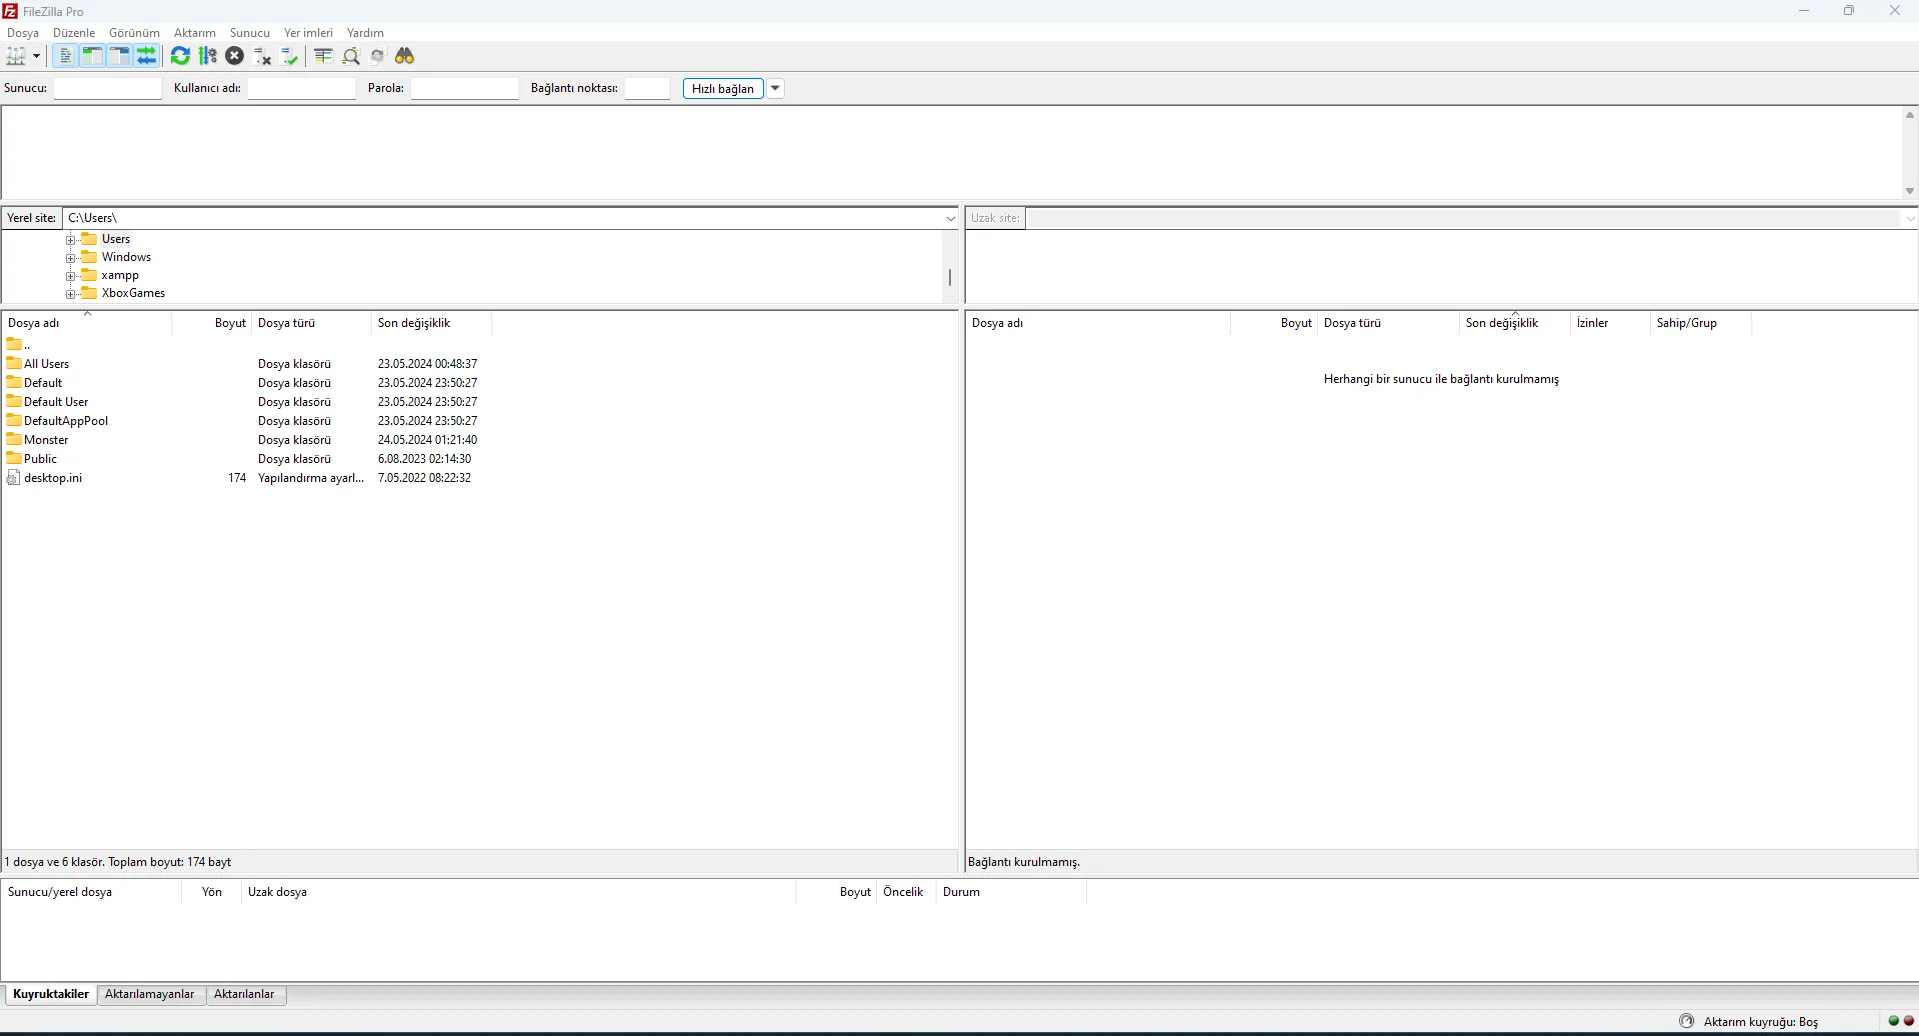
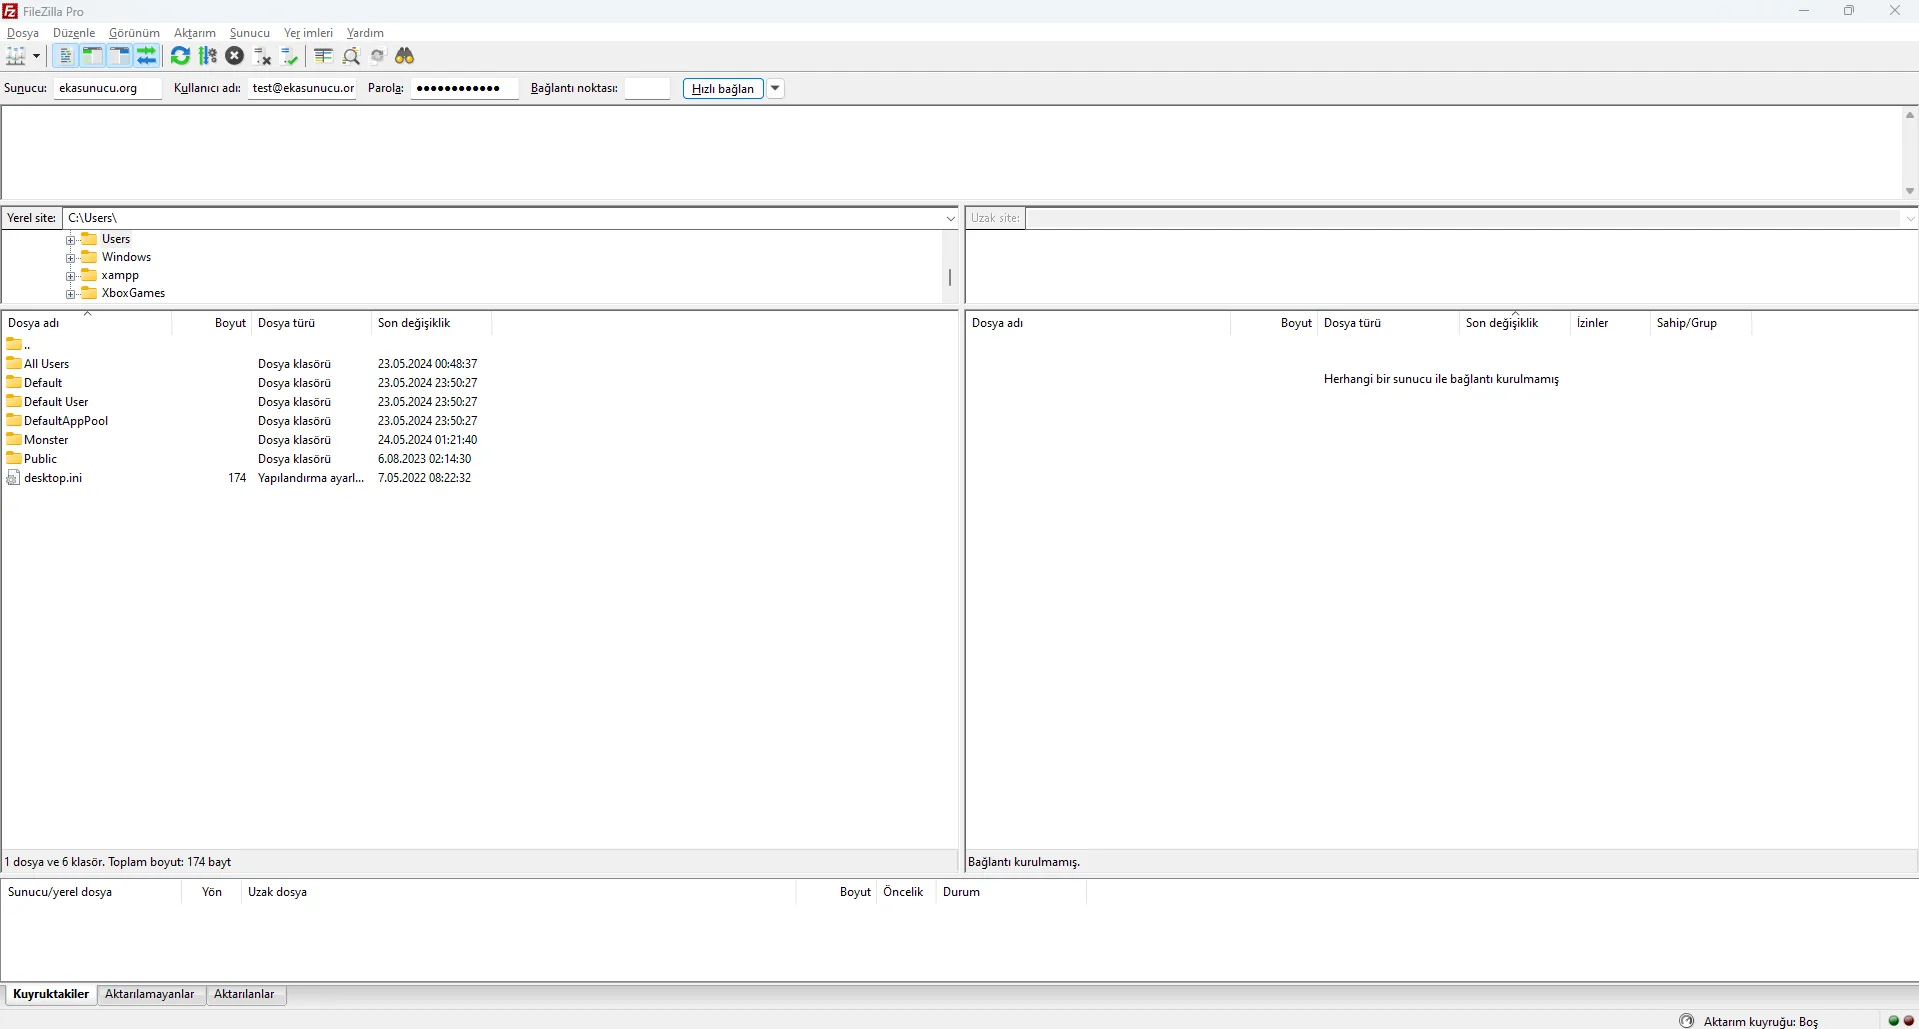
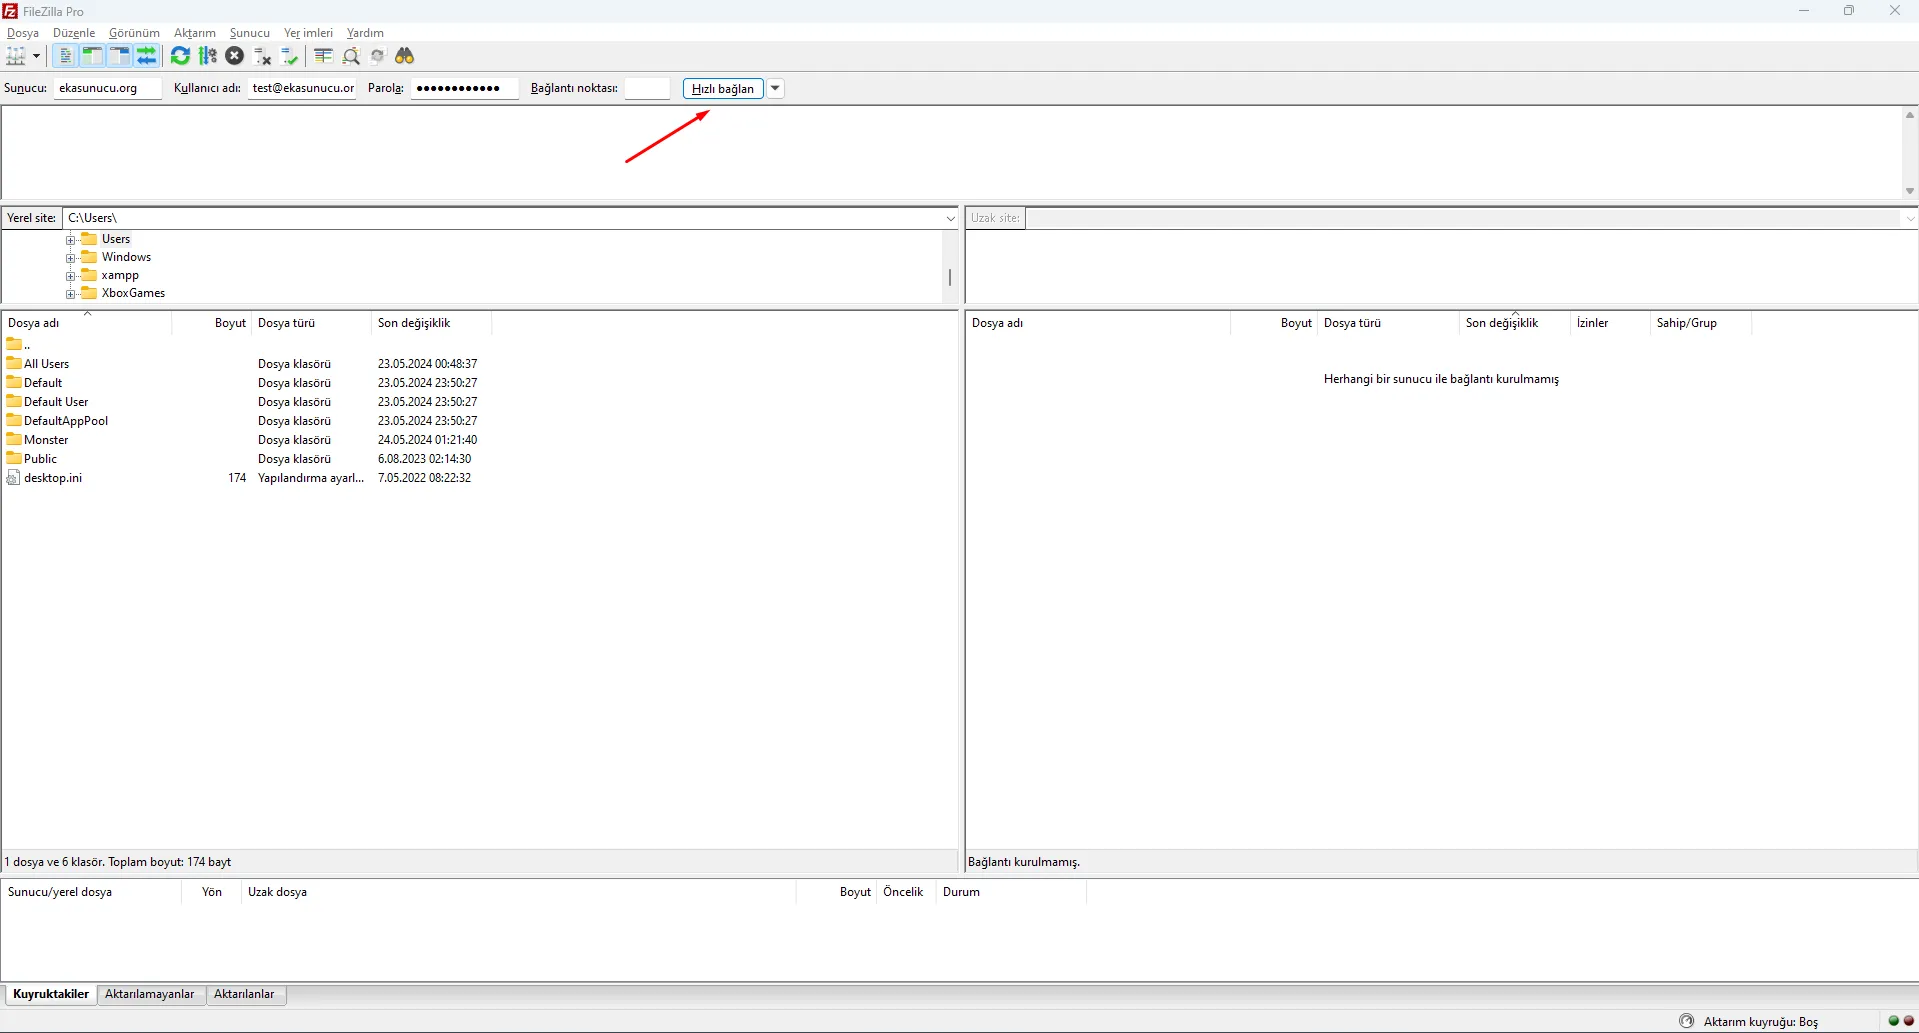
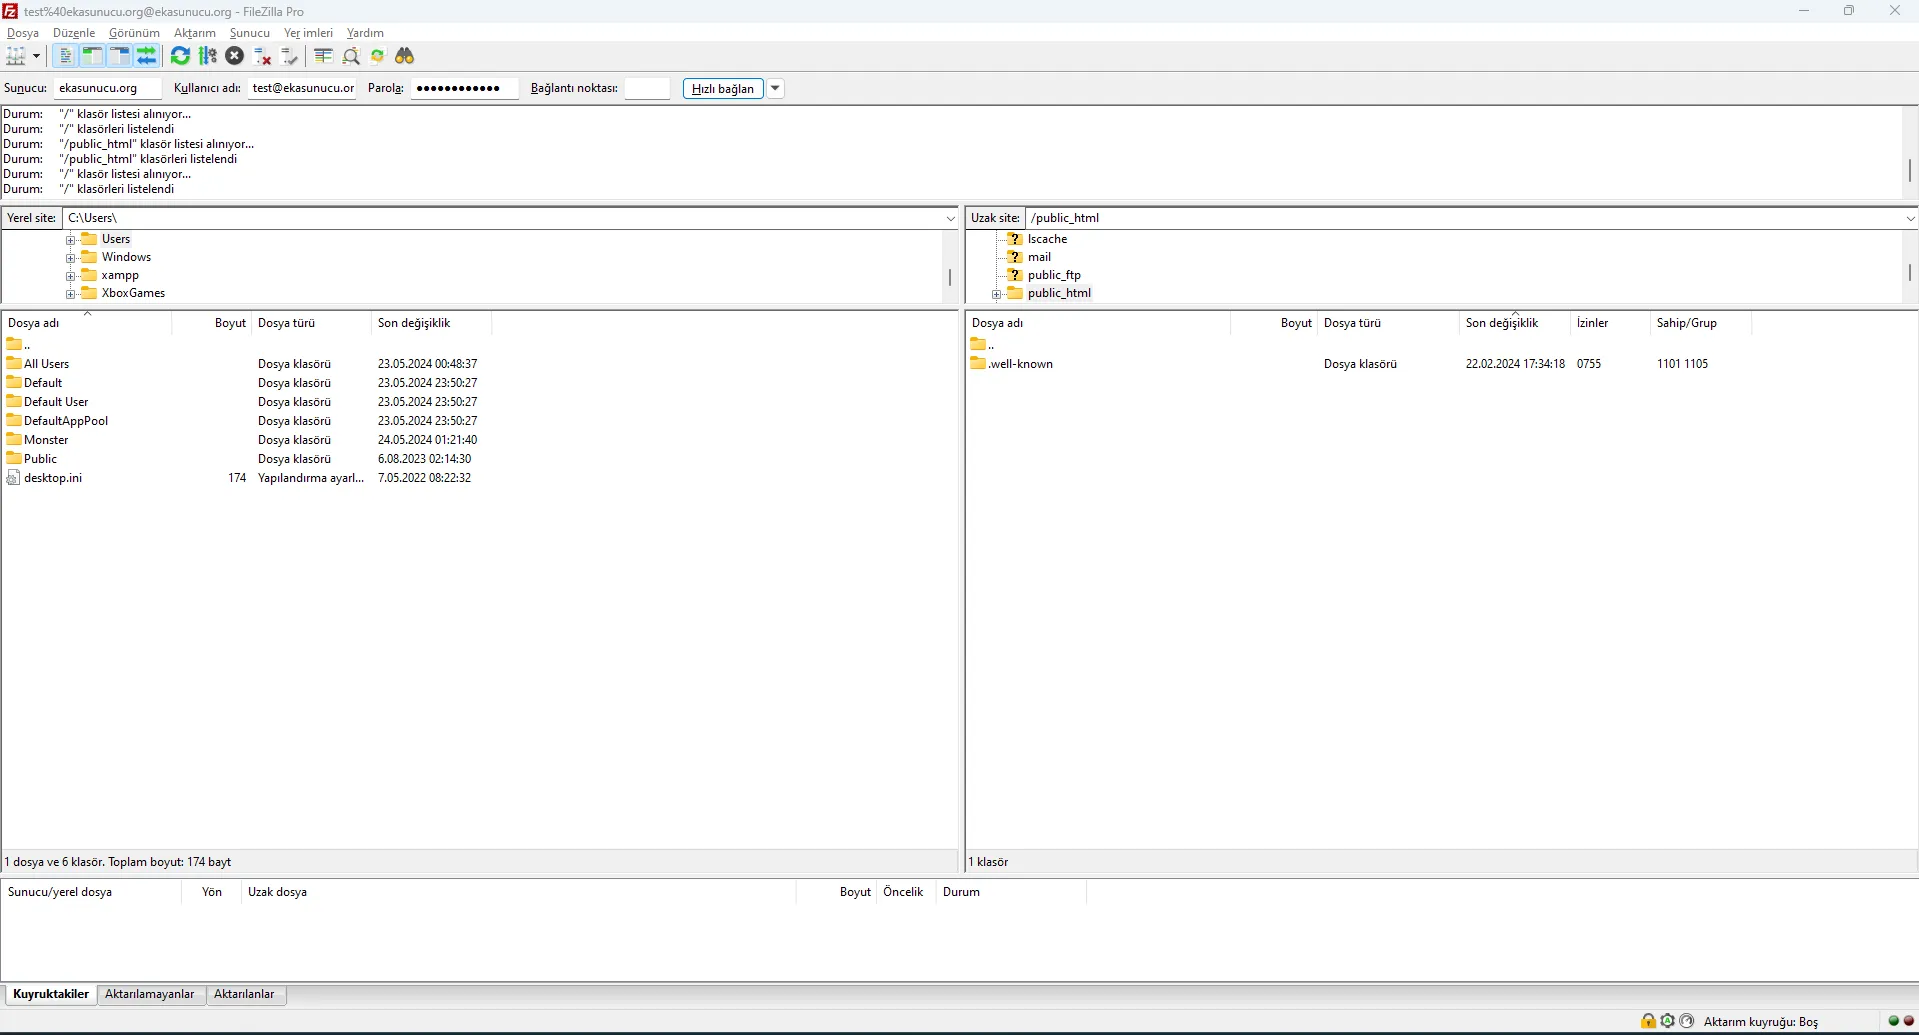
Once you successfully connect to your server with FileZilla, you can easily view, edit and transfer your website's files. File management is quite simple with FileZilla's user-friendly interface.
In the FileZilla interface, your local files (your computer) are displayed on the left, and your remote files (server) are displayed on the right. Transfer transactions can be monitored in the middle section.
To see your site files, click on the "public_html" folder in the right panel. This is the home directory of your website and this is where your HTML, CSS, JS files and other content reside.
To upload files, select files from the left side (your computer) and drag and drop them to the right side (server). To download a file, you can drag and drop it in the opposite direction.
To create a new folder on the server, right-click on an empty space in the right panel and select "Create Directory". Enter the folder name and confirm.
To delete a file or folder, right-click on it and select "Delete". You can use the "Rename" option to rename it.
You can also edit file permissions (CHMOD) with FileZilla. You can set read, write and execute permissions by right-clicking on the file or folder and selecting "File Permissions". This is especially important for CMS systems and custom software.
You can watch our video below for a visual explanation about creating an FTP account and using FileZilla.
Below you can find answers to the most frequently asked questions about FTP accounts and using FileZilla.
FTP (File Transfer Protocol) is a standard protocol used for file transfer. SFTP (SSH File Transfer Protocol) is a secure version of FTP and works over the SSH protocol. SFTP is more secure because it provides an encrypted connection and is especially preferred for transferring sensitive data. When using FTP accounts you created in cPanel with FileZilla, you can also use the SFTP option in the connection settings.
If you are getting FTP connection error, check these steps:
If these steps do not solve the problem, you can contact your hosting provider.
There is no theoretical limit on the number of files you can upload via an FTP account. However, you are subject to the disk space and inode (number of files) limits of your hosting package. Uploading large amounts of small files may impact server performance. Additionally, you may experience connection timeout issues when transferring a large number of files. If you are going to transfer large amounts of files, it may be more efficient to use compressed archives (ZIP, RAR) or transfer in small batches.
To install WordPress or other CMS systems via FTP, you can follow these steps:
Alternatively, you can use automatic installation tools like Softaculous in cPanel.
Yes, there are many FTP clients other than FileZilla. Popular alternatives include:
You can also connect to these clients using your cPanel FTP account information.
Discover our other helpful guides on hosting and managing your website.
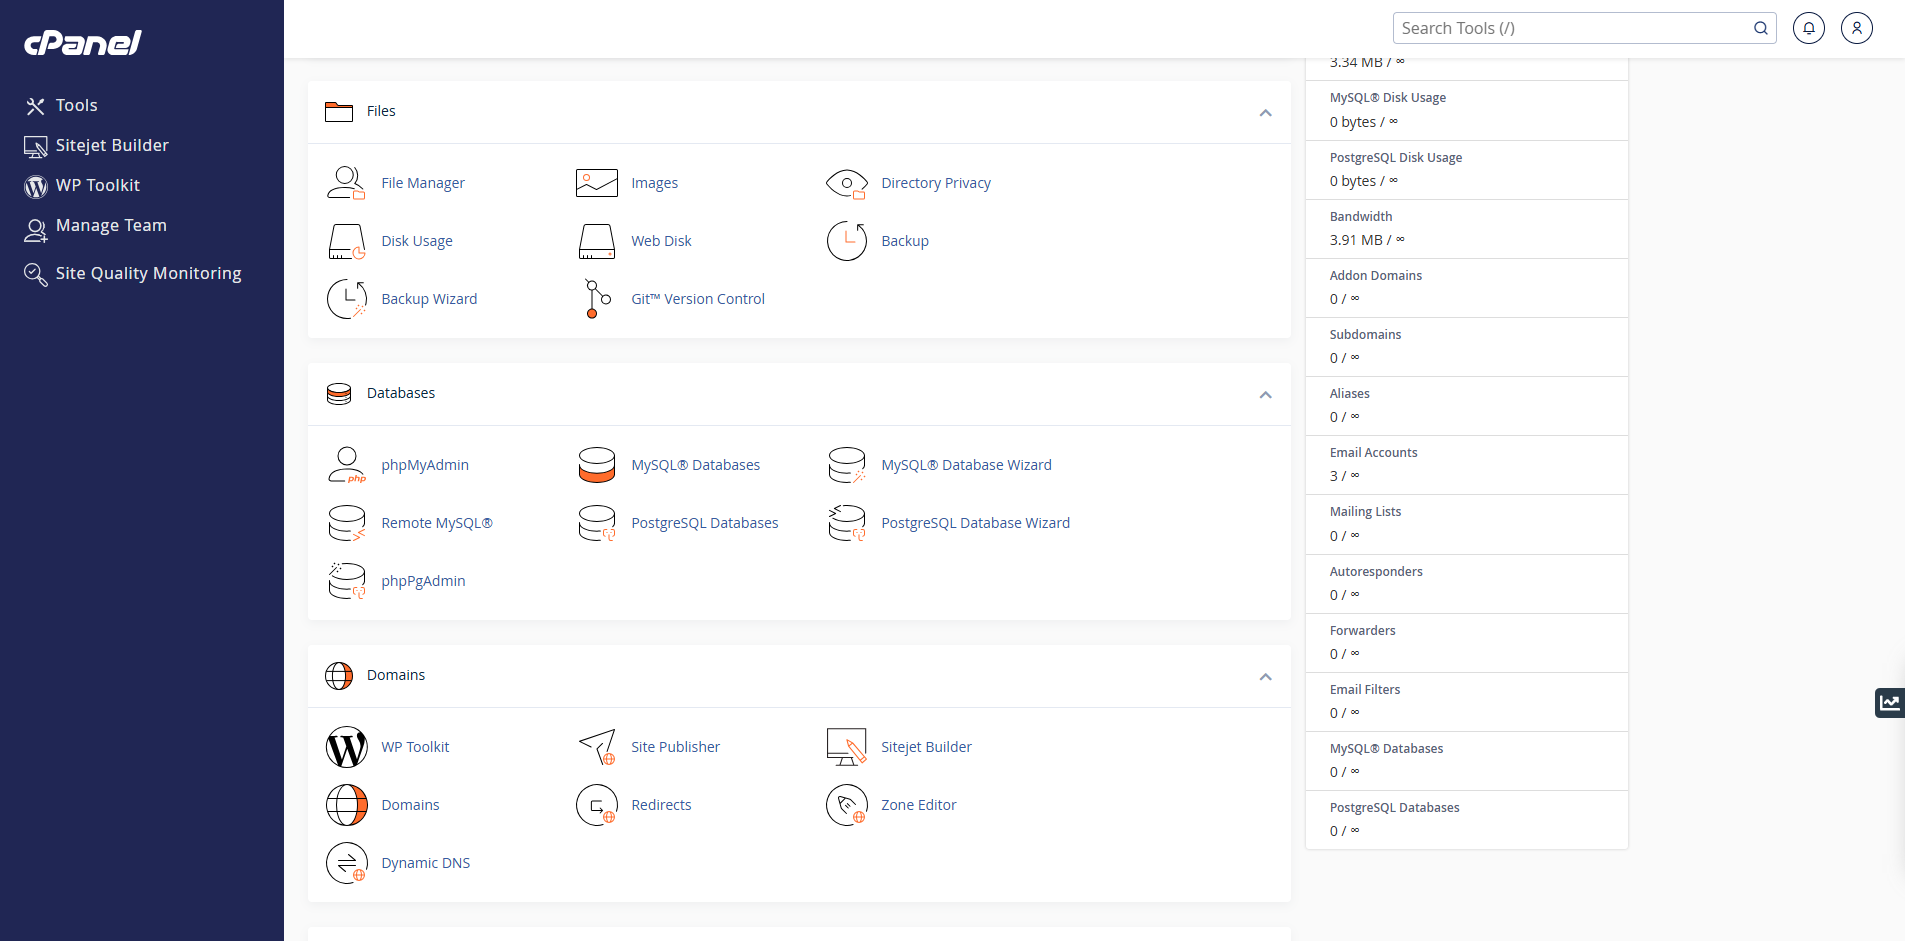
Learn how to manage your website's files using cPanel's built-in file manager.
Read More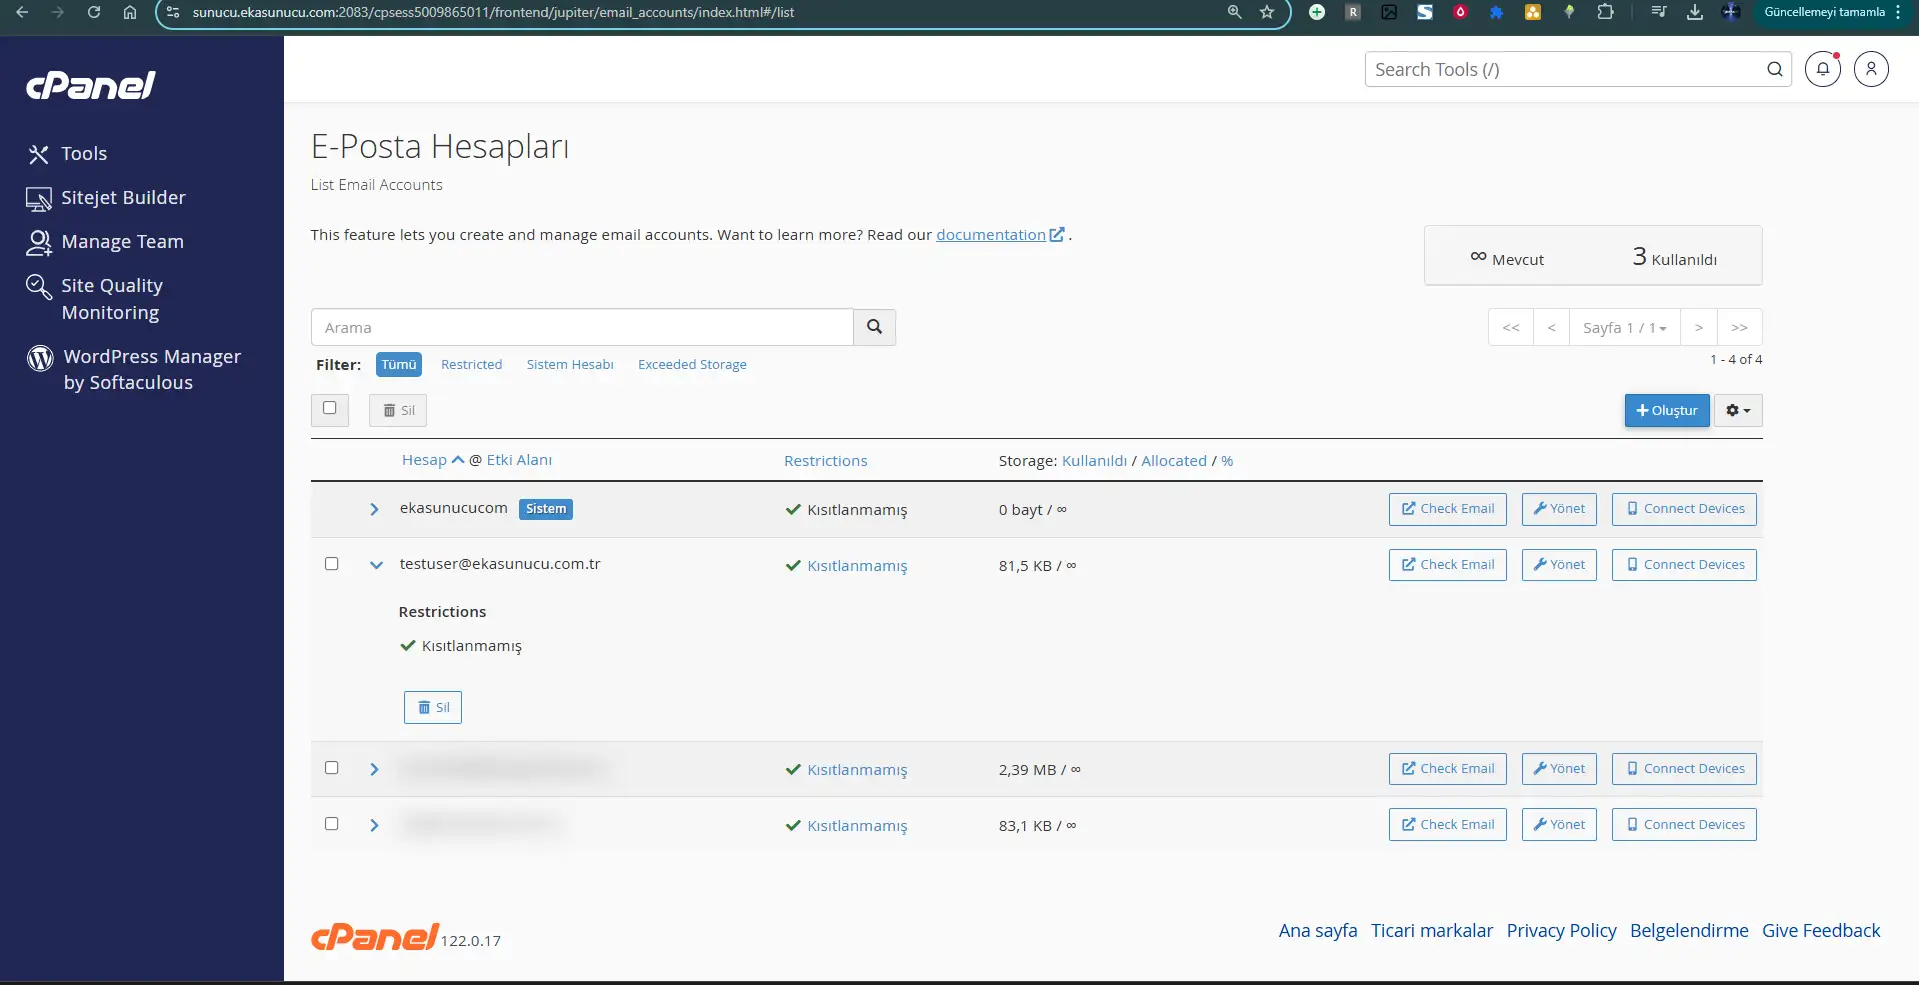
Learn how to create and manage your corporate email accounts through cPanel.
Read More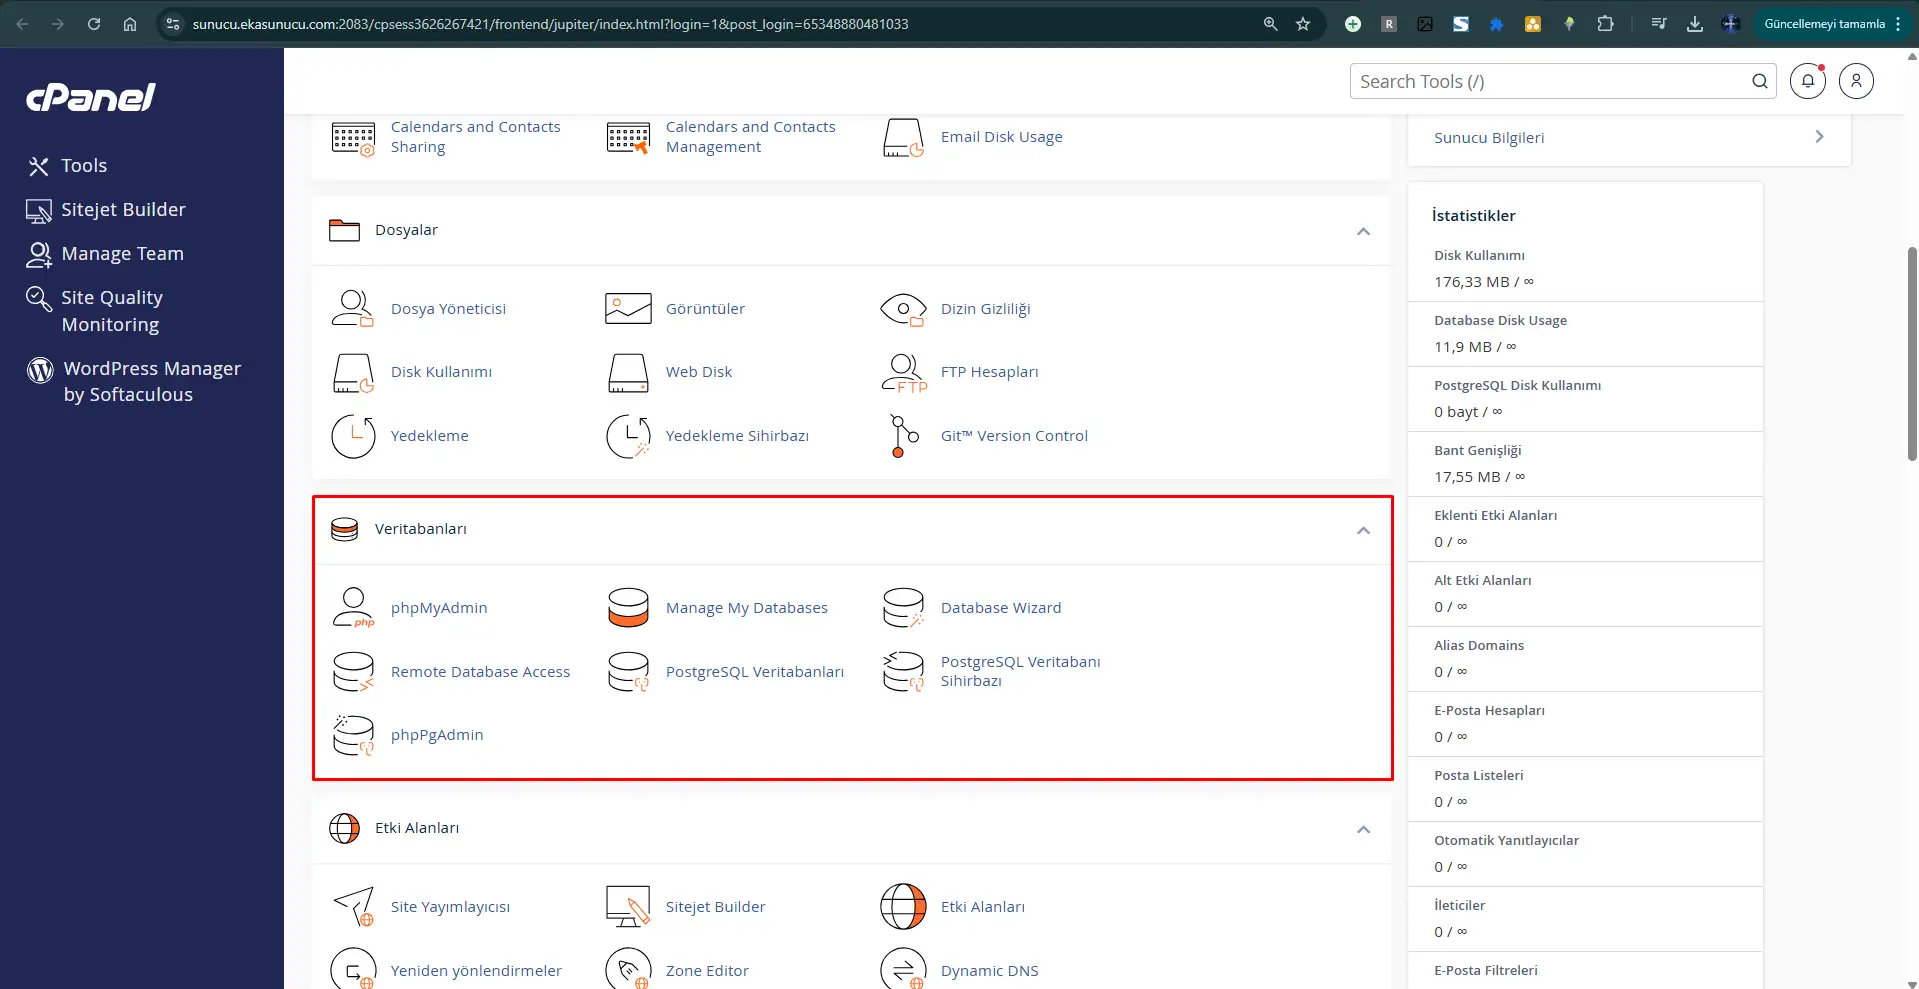
How to create a MySQL database via cPanel and configure it for applications like WordPress?
Read More